The Balanced Rig Principle For Diving
The balanced rig principle for diving describes a calculated method for ensuring that the diver always has sufficient removable ballast to ensure they can swim to the surface if their buoyancy device fails.
When considering the configuration of their scuba equipment for precision buoyancy and weighting, scuba divers should pay heed to the safety issues arising from having non-ditchable weight. To mitigate those potential problems, it is worthwhile to devote some attention to the principle of a ‘balanced rig’.
What is the balanced rig principle?
The ‘balanced rig’ is a concept that stems from technical cave diving in the USA.
This concept deals with the creation of an integrated scuba equipment set-up that aims to be, with an empty cylinder/s, as near to neutral as possible – without being excessively heavy.
Excessive weight is defined as being beyond the capacity of the diver to swim up to the surface (full cylinder and weights in place).
Why is a balanced rig safer?
Using a ‘balanced rig’, at the beginning of the dive (when the cylinder is full and heaviest), the diver is safe because they know that they can swim themselves to the surface in the event of an emergency.
If the regulator ceased supplying air, the BCD inflator malfunctioned, or even if the BCD bladder burst, they would not be in a situation where the equipment was so negatively buoyant that the surface couldn’t be reached.
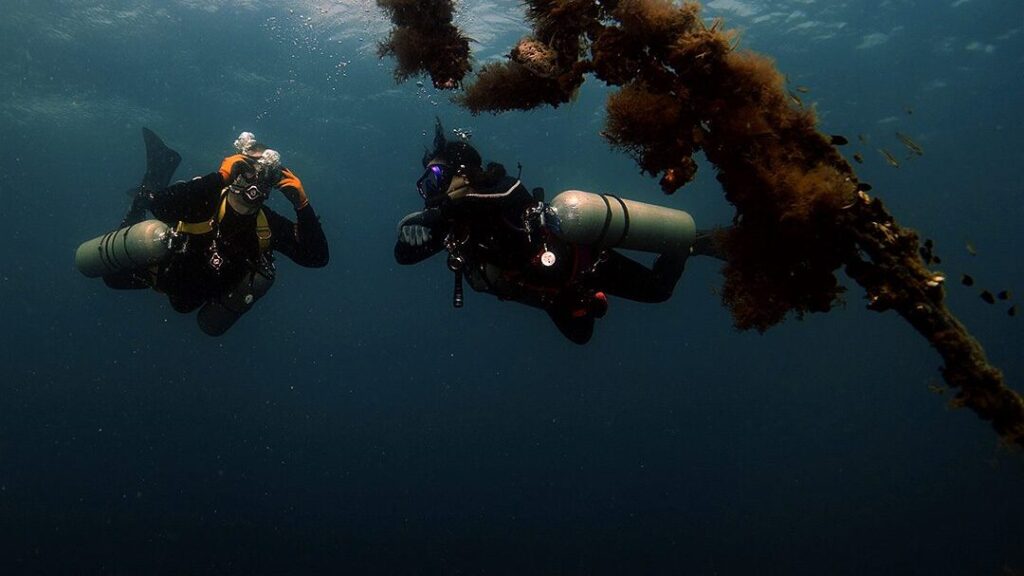
Whilst the weight belt is ditchable, and doing so should permit a buoyant emergency ascent, we don’t want to include this within our considerations of a balanced rig.
At the end of the dive, when their cylinders are lightest and exposure protection has re-expanded in shallow water, they have sufficient weight to hold a safety or deco stop and allow a controlled ascent.
One major safety benefit of the balanced rig is that it enables the diver to identify the minimum amount of ditchable weight they need to maintain; whilst also providing them with safe options for non-detachable weight for the purposes of trim adjustment or the carrying of other items, such as canister torches, metal reels and tools (assuming that the diver doesn’t want to consider a $1200 canister torch as ‘disposable’).
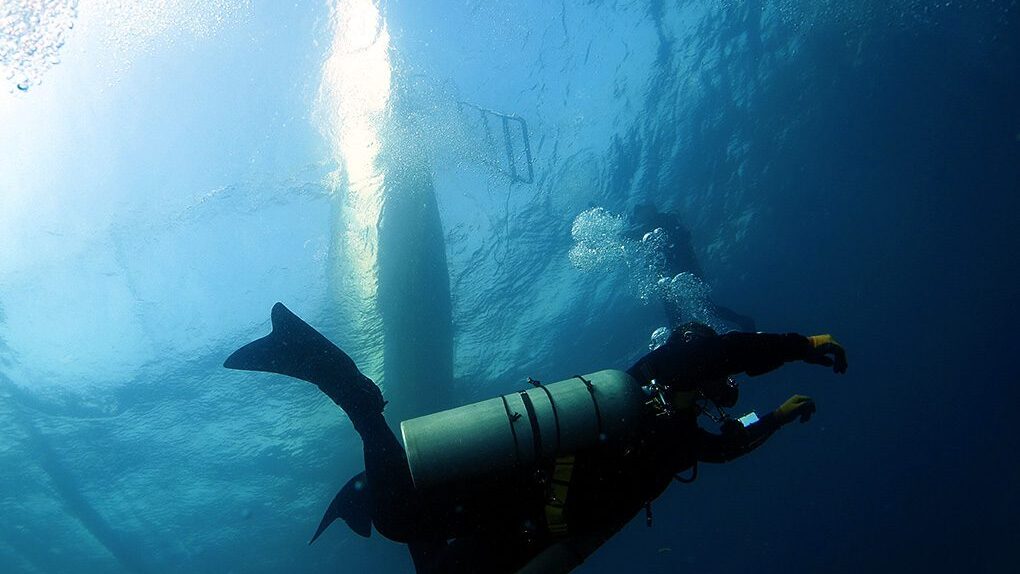
How do I create a balanced rig for diving?
These are the four steps to take when calculating and creating a balanced rig with your scuba equipment:
Assess your equipment’s buoyancy characteristic
- To establish a balanced rig, the diver first needs to assess and understand the buoyancy characteristics of the equipment they are using.
- Spend time assessing your equipment and understanding each component’s buoyancy characteristics.
Dive equipment can be broken down into 4 categories:
1. Variable Buoyancy Items
Primarily, these are the exposure suit and the scuba cylinder. Whilst the exposure suit is positively buoyant, it will lose some buoyancy at deeper depths.
When using a wetsuit, the diver should be aware of the relative changes in wetsuit buoyancy at varying depths. Likewise, the scuba cylinder will reduce negative buoyancy as the air it contains is depleted by the diver.
A steel cylinder may remain negatively buoyant, even when empty. An aluminum cylinder is likely to become positively buoyant when the air pressure gets low. Again, the diver should understand the buoyancy variation that occurs in the cylinder they are using.
2. Permanent Positively Buoyant Items
- The human body (yes, we are slightly buoyant)
- Padded BCDs
- ‘Floaty’ fins
3. Permanent Negatively Buoyant Items
These are items that the diver cannot ditch in the event of an emergency, such as;
- Metal backplates
- Metal BCD hardware (d-rings, clips)
- ‘Heavy’ fins
4. Detachable Negatively Buoyant Items
These are negatively buoyant items that the diver can dispose of, should an emergency require it. These could include;
- Weight belt
- Dive lights
- Reels
- Stage/deco cylinders
Once you understand the individual characteristics of the items that you use underwater, you will be in a far better position to fine-tune your overall configuration towards specific goals.
It will also help you with purchasing decisions, by adding buoyancy requirements to your kit selection factors.
Confirm your ideal weighting
Conduct a floating weight confirmation.
- Descend to 5m depth and hover with approx 35 bar/500psi in your cylinder/s.
- Remove all of the air from your BCD
- Incrementally add or remove weights until you attain neutral buoyancy
Confirm you can swim up in your equipment with no gas in your BCD
- Descend to approx 21m/70ft
- Empty your BCD
- Attempt to swim back to the surface
- Maintain an appropriate safe ascent rate and include 1-minute stops at 12m/40ft and 6m/20ft.
- You should be able to achieve this with relative comfort.
If not, then you will need to remove weight from your equipment.
Bear in mind that (as you have already perfected your weighting) the increasing buoyancy of your wetsuit on ascent should make the journey progressively easier as you near the surface.
- Use trial and error, repeating this drill with less weight, until you reach a configuration that you are confident that you can swim to the surface.
- Any weight that you need to reduce to make the ascent comfortable will indicate the amount of weight that you must retain on your weight belt for emergency ditching.
- The weight that you are comfortable swimming up can be integrated in a non-detachable manner into your configuration (i.e. backplate, trim weights etc)
Fine-tune your diving gear configuration
Having satisfied yourself that you have sufficient weight to maintain shallow stops at the end of a dive and that you can swim up your kit at the beginning of a dive; you can now tailor your equipment configuration for the best results.
Having identified the minimum total weight that you must carry, including the minimum weight that must be ditchable; you can consider the integration of other non-ditchable negatively buoyant items into your balanced rig for the purposes of trim control.
Congratulations… you should now have a ‘balanced rig‘.
About The Author

Andy Davis is a RAID, PADI TecRec, ANDI, BSAC, and SSI-qualified independent technical diving instructor who specializes in teaching sidemount, trimix, and advanced wreck diving courses.
Currently residing in Subic Bay, Philippines; he has amassed more than 10,000 open-circuit and CCR dives over three decades of challenging diving across the globe.
Andy has published numerous diving magazine articles and designed advanced certification courses for several dive training agencies, He regularly tests and reviews new dive gear for scuba equipment manufacturers. Andy is currently writing a series of advanced diving books and creating a range of tech diving clothing and accessories.
Prior to becoming a professional technical diving educator in 2006, Andy was a commissioned officer in the Royal Air Force and has served in Iraq, Afghanistan, Belize, and Cyprus.
In 2023, Andy was named in the “Who’s Who of Sidemount” list by GUE InDepth Magazine.
Purchase my exclusive diving ebooks!
Originally posted 2011-08-30 17:36:52.


