Advanced Wreck Diving is the continuation of wreck diving education beyond the basic/introductory training provided by mainstream diving agency ‘wreck diver’ courses. It specifically focuses on the conduct of wreck penetration, providing skills, drills, and protocols necessary to mitigate the substantial extra risks posed when diving within wreck overhead environments.
Disclaimer:This Advanced Wreck Guide is not intended to replace formal advanced wreck certification training on a course specifically aimed at developing specialist skills for qualified wreck penetration divers. This information should not be considered a substitute for gaining proper experience under expertly qualified direction. Wreck penetration is a very hazardous scuba diving activity. Divers should not attempt the techniques detailed in this article without appropriate support or supervision. Training drills should always be mastered in an open-water environment, before they can be applied, or relied upon, within an overhead environment.
Sponsored Link
Recreational Wreck Diving Limits
Recreational wreck divers should observe the following limits to the penetration of wrecks:
One continuous guideline
No restrictions*
No decompression
30m max depth
No complex dives, including jump lines, gap lines, or permanent lines
Rule of thirds air management on single/double tanks
Max distance to the surface (horizontal plus vertical) is 40m/120ft
Within the ‘light zone’, where natural light penetrates and illuminates
Ability to clearly see the exit at all times
No severe risk of silt out
*A restriction is defined as a space too small for 2 divers to pass through simultaneously whilst sharing air.
Advanced Wreck Diving – Required Skills
Recreational wreck divers should possess the following competencies before penetrating wrecks:
Buoyancy Control. Ability to maintain +/- 50cm of target depth, whilst otherwise task loaded
Trim. Ability to maintain flat horizontal trim, with slightly head-down positioning.
Propulsion. Ability to utilize non-silting fin techniques, including frog kick and modified flutter kick.
Control. Ability to demonstrate positioning control without reliance on hands. Efficient use of helicopter turns and back kicks for maneuverability within confined spaces.
Streamlining. Divers’ equipment demonstrates effective streamlining, efficiency, and adequate redundancy, with no obvious entanglement hazards and minimum failure points.
Gas Management. Ability to accurately plan and manage gas requirements for the planned dive, including contingency reserves.
Dive Planning. Ability to precisely plan a no-decompression dive, conduct an effective risk assessment, and confirm effective contingency/emergency plans before water entry.
Navigation. Ability to effectively navigate back to the start point, using a compass and natural navigation techniques.
Buddy/Team Skills. Ability to plan dives and follow those plans in a coordinated way with a diving buddy/team, including the ability to conduct effective emergency drills. see Buddy diving.
Situational Awareness. Ability to maintain awareness of depth, time, no-decompression limit, surroundings, navigational location, and buddy/team, whilst otherwise task loaded with specific skills.
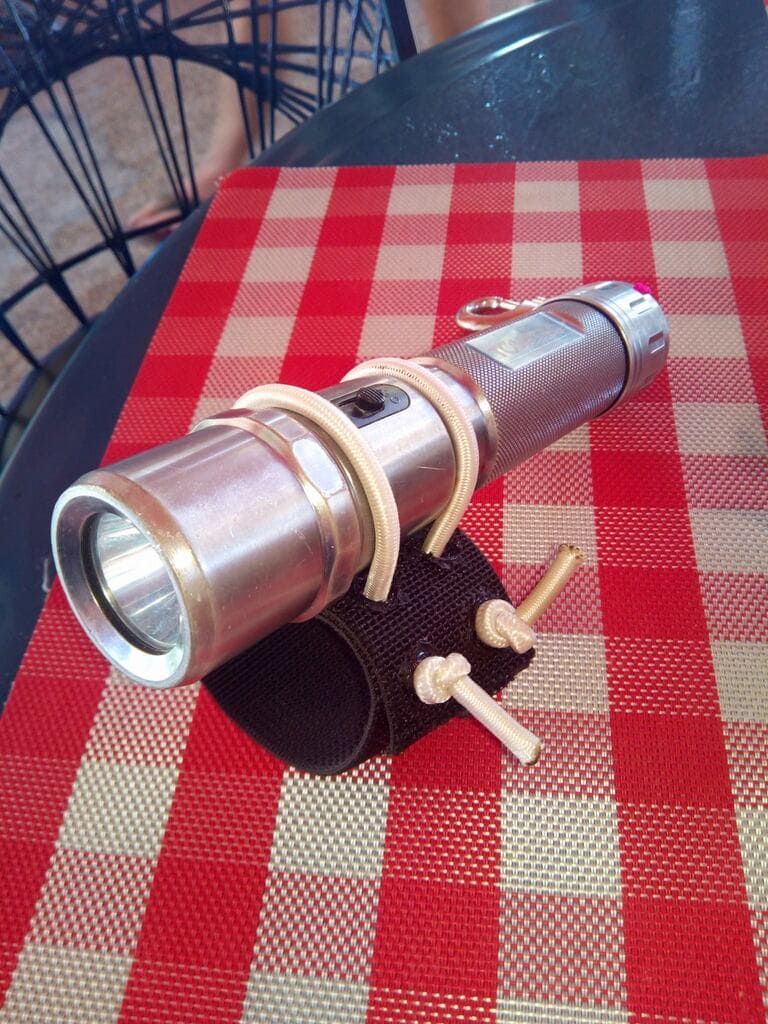
DIY Goodman handle for a recreational dive light
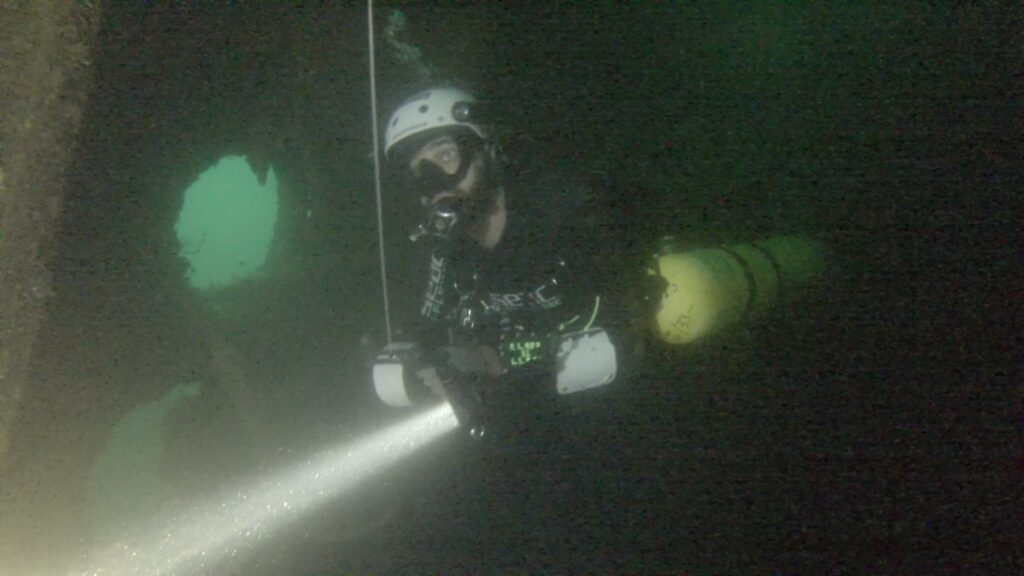
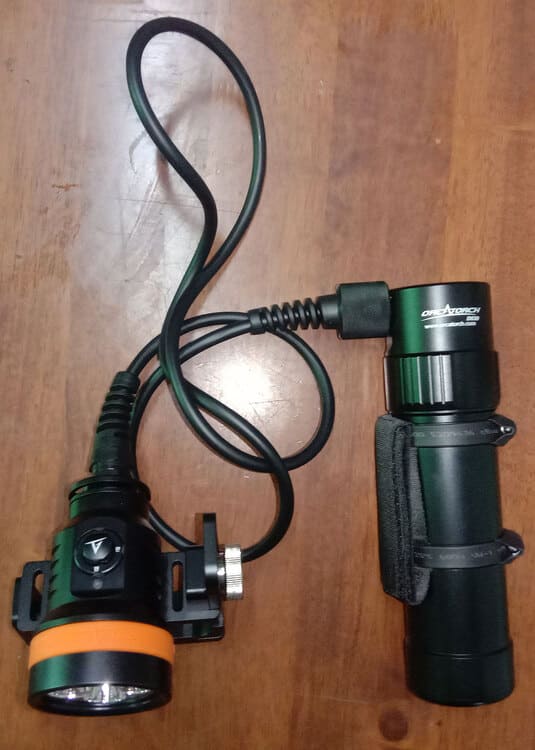
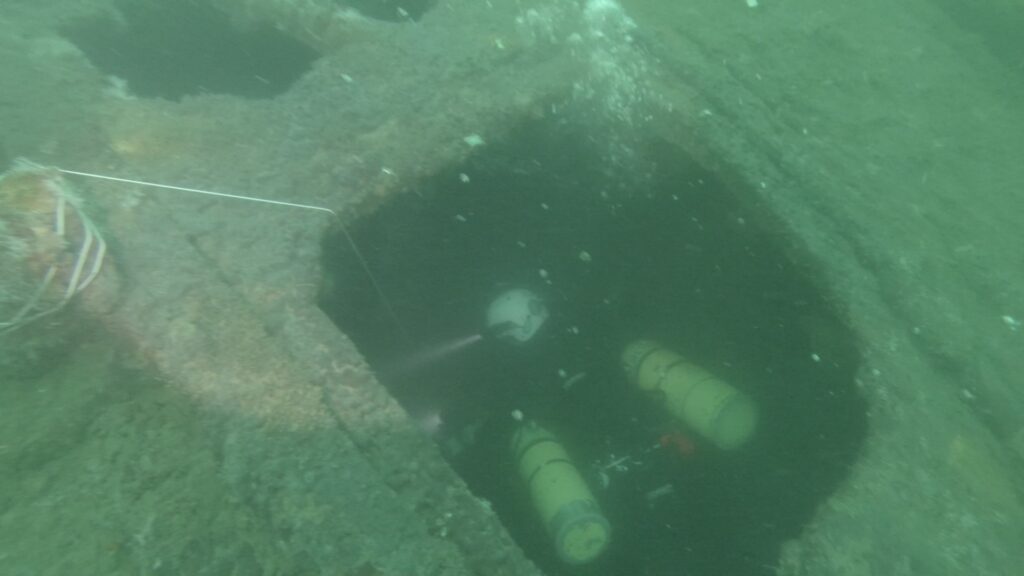
A canister light for advanced wreck diving
Advanced Wreck Diving – Specialized Equipment
In addition to standard scuba diving equipment, the following specialized equipment should be carried for advanced wreck diving penetration:
Penetration Reel. A primary reel with a sufficient line to penetrate a planned distance into the wreck.
Emergency/Safety Reel. A contingency reel for conducting emergency procedures (detailed later).
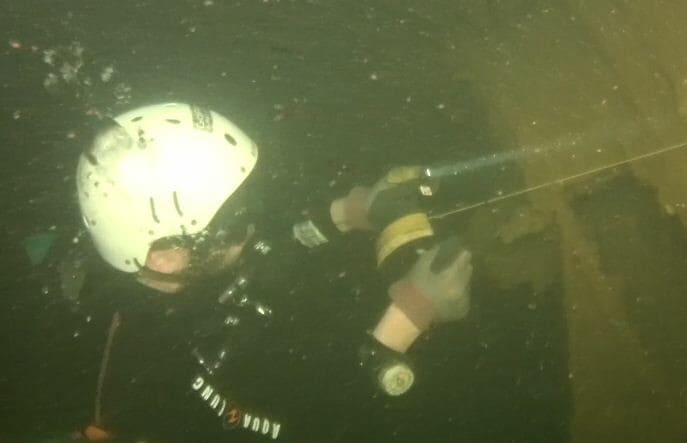
Primary Torch. A bright, high-power torch capable of providing sufficient illumination and signaling capacity within no-light zones.
Back-Up Torch. A small-size torch capable of one-handed operation, with long capacity battery life.
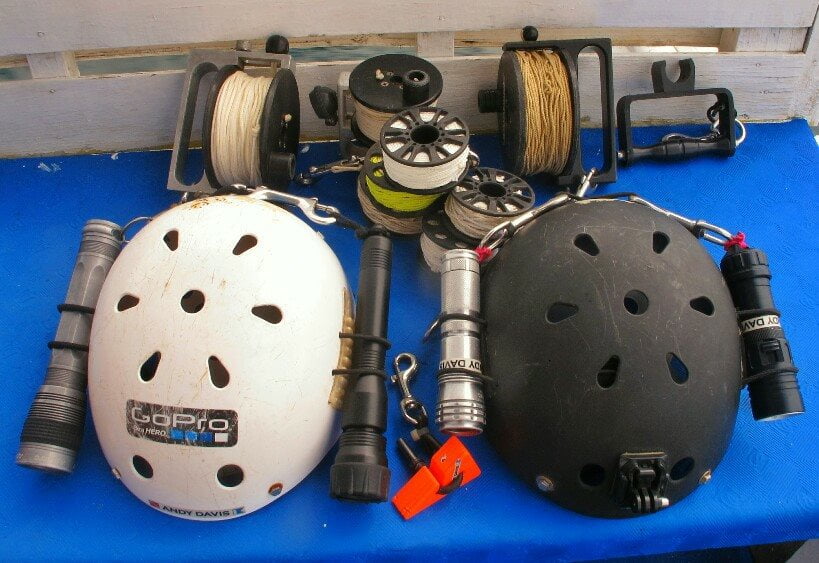
Helmets, dive lights, reels, and spools for advanced wreck diving.
Sponsored Link
Advanced Wreck Diving – Dangers
Wreck diving has specific risks that are not present in normal open water diving. The primary danger within a wreck is becoming lost and unable to exit. When gas supplies are finite, becoming lost in a wreck is a life-threatening situation. Divers drown inside shipwrecks every year.
Orientation
Shipwrecks are rarely orientated in a normal vertical position. Sloping passageways, ‘upside-down’ rooms, miss-orientated stairwells, and other features can all lead to the diver becoming rapidly disorientated. Determining an exit route from a wreck is rarely obvious or instinctive.
Silt
Most shipwrecks contain a large amount of silt. Silt can be defined as a congregation of fine particles formed from organic or inorganic matter. Mud and sand can be swept along in a current and then settle and deposit within a wreck, covering the wreck’s floor areas and adhering to walls, fixtures, and fittings.
Organic matter and other objects (wood and materials used in the ship’s construction) can decompose and form sediment. Metal will rust and disintegrate into fine particles. If the diver disturbs silt (or even creates water movement which then disturbs silt), then it will rapidly rise into the water and lower visibility.
Wreck divers must perfect non-silting fin and control techniques to reduce the occurrence of disturbing silt. Even a very cautious diver will unavoidably disturb silt, as their rising bubbles can dislodge silt on the ceiling. Disturbed silt within a confined space can rapidly deteriorate visibility to zero. Do not underestimate how ‘zero’ that is!
Collapse
Wrecks rust and decompose over time. Divers can disturb heavy objects that can then injure them or block the exit from the wreck. Never exert force on objects within a wreck, no matter how secure or solid they may seem. If the wreck diver is passing through an open door, they should ensure that the door cannot swing shut behind them. If unsure, use some line to tie the door into an open position.
Current
Current can flow in an unpredictable manner around, and through, a shipwreck. This flow of water may also vary in strength during a dive. Water flow may oppose exit from a shipwreck, or could drag a wreck diver into the wreck, or areas of a wreck, that they do not wish to enter.
Technical wreck diving may include passage through restrictions, if that is a component of the training syllabus.
Advanced Wreck Diving – Air Supply
When operating within an overhead environment, the diver should pre-plan their gas requirements to ensure that sufficient volume is carried. They should also pre-plan precise reserve/contingency levels based on air-sharing with a buddy. See ‘Gas Management‘.
Gas planning should also determine a ‘turn-point’ of pressure that follows the principle of the ‘Rule of Thirds’. This is taught to all wreck students – however, that principle needs to be applied based on air-sharing. That means some understanding of air consumption rates has to exist, for a safe turn-point to be decided that protects sufficient gas for both divers to exit.
Learn Gas Management With My Exclusive eBook
Sponsored Link
Gas Management For Scuba Divers
The comprehensive, illustrated, metric guide to advanced gas planning and management for safer scuba diving. Only $9!
60 Pages. Printable PDF format. Fully Illustrated.
Whilst not mandatory, recreational wreck divers should seriously consider the use of redundant air sources. Redundant Air Source Article. These could include:
Pony Cylinders
An emergency cylinder with a separate regulator that supplies sufficient air for both divers (diver + buddy) to reach the surface from the deepest limit of their penetration. Rock Bottom Gas Management principles should be used to determine the required volume to cover this contingency.
Use of a pony cylinder for gas redundancy in wreck diving
Two cylinders of equal size, which combined contain sufficient gas for the planned dive. Rock Bottom Gas Management principles should be used to determine the required volume to cover an air-sharing emergency using a single cylinder.
The minimum reserve for air-sharing ascent should be based on a worst-case scenario in which one cylinder is unavailable. Gas volumes from both cylinders should be matched as the dive progresses (i.e. the diver utilizes 20BAR from one cylinder before switching to the other cylinder and using 20BAR, then switching back for 20 BAR, etc)
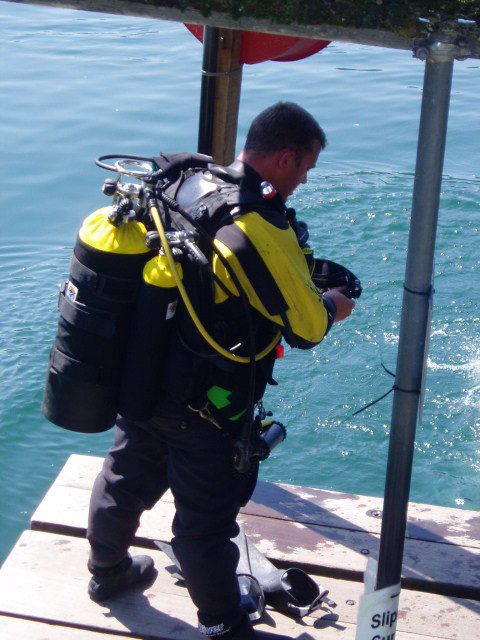
Sidemount gear is exceptionally well-suited for wreck penetration
Isolated Manifold Double Cylinders.
Two cylinders of equal size joined with an isolator manifold, which combined contain sufficient gas for the planned dive. Rock Bottom Gas Management principles should be used to determine the required volume to cover an air-sharing emergency using a single cylinder. The minimum reserve for air-sharing ascent should be based on a worst-case scenario that has necessitated the closure of the manifold and shut-down of one cylinder.
Note: Small capacity ‘Spare Air’ type ascent cylinders are unlikely to contain sufficient air for a protracted exit from a wreck plus ascent to the surface; neither do they permit effective air-sharing between two divers. Therefore, these types of cylinders are not recommended for any level of wreck penetration diving.
Gas Mixture
If appropriately trained in their use, advanced wreck divers should consider the optimum gas mixture to conduct the dive. The use of nitrox can be very beneficial on wrecks; where the dives are typically square profile. For deeper dives, the risk of inert gas (nitrogen) narcosis presents excessive risks when conducting wreck penetrations.
The use of helium within the breathing mixture is an effective way to minimize the impact of narcosis. Recreational (normoxic) trimix courses are becoming increasingly popular and present a good solution for recreational wreck penetration below 30m/100ft.
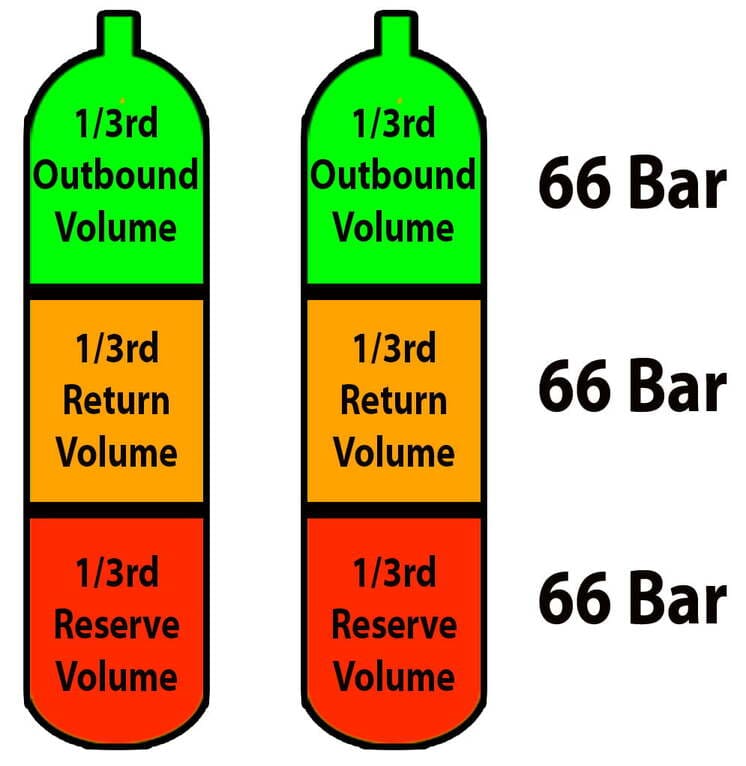
Rule of Thirds
When entering into overhead environments, advanced wreck divers must maintain gas reserves based upon, at the minimum, the Rule of Thirds. This rule dictates:
1/3rd of Gas for entry (up to the turn-point).
1/3rd of Gas for exit and ascent.
1/3rd of Gas for reserve.
The gas turn-point for a team/pair is dictated by the diver who reaches their 1/3rd first (note: deco/no-deco bottom limits may determine a turn-point before this).
Rule of Thirds gas management for double cylinders in advanced wreck diving.
Advanced Wreck Diving – Reels & Lines
The following types of reels may be used for different purposes when advanced wreck diving:
Permanent Reel.
A permanent heavy-duty, line can be laid within the wreck. Typically this will contain a 0.5” or thicker nylon-based line. Permanent lines are sometimes laid on regularly frequented wrecks. The lines are commonly started several meters within the wreck, to prevent a temptation for un-trained and/or insufficiently equipped divers to enter the wreck.
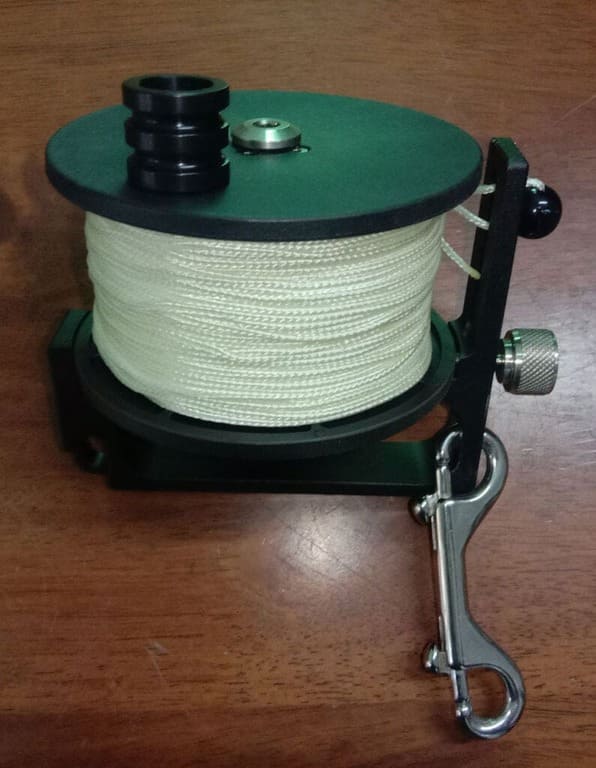
Primary Guideline.
This is the main penetration reel used by wreck divers when penetrating wrecks.
5The typical line length will be 50-100m.
The line should be 24-36 gauge braided nylon.
The reel may be a plastic or metal winding reel (ratchet or tension controlled), or it may be a large-capacity finger spool.
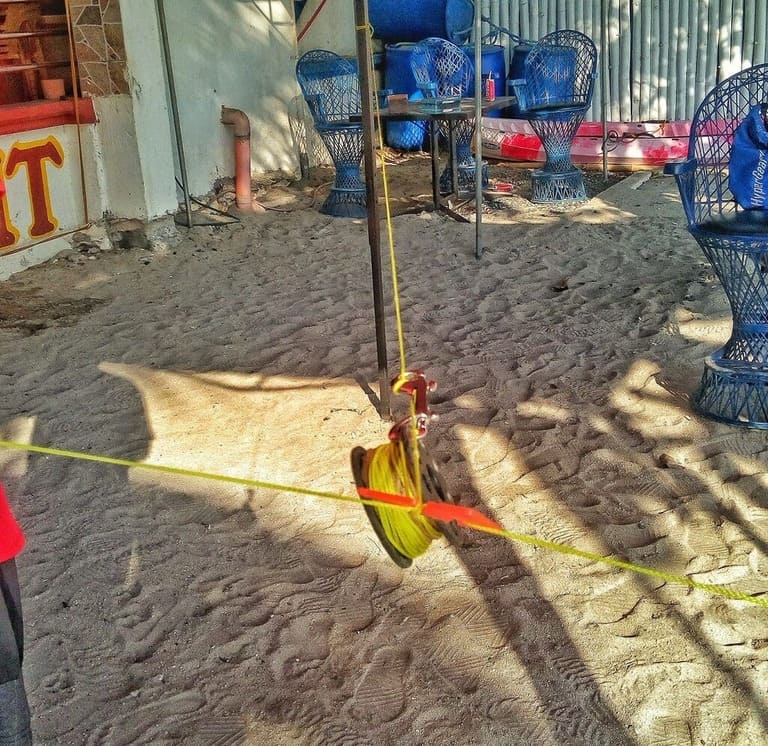
A primary spool for advanced wreck diving.
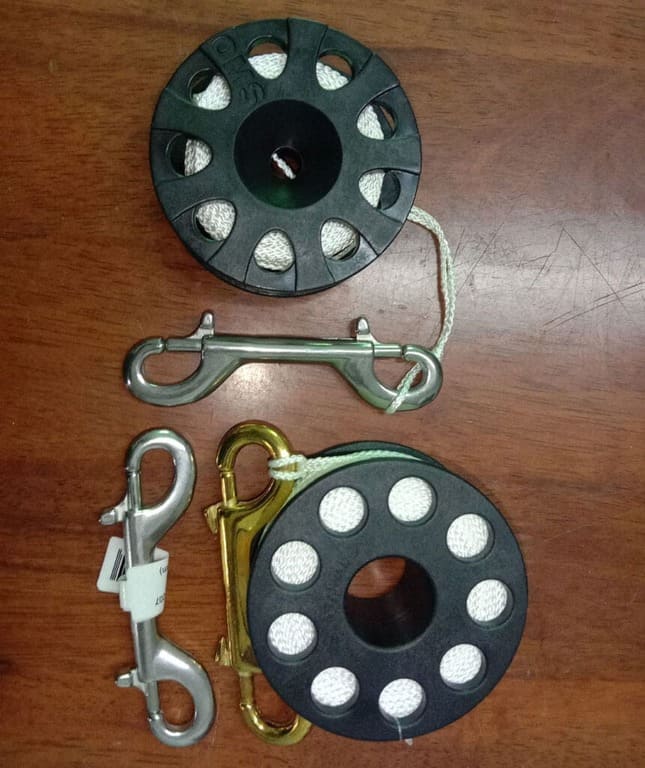
Jump / Gap Spool.
This is a small capacity (20-30m) reel that may be used to create a ‘line bridge’ between two other lines. For instance, when a permanent line starts within a wreck, or when two permanent lines within a wreck are separated. Finger spools are typically used for this purpose.
Finger spool for wreck diving.
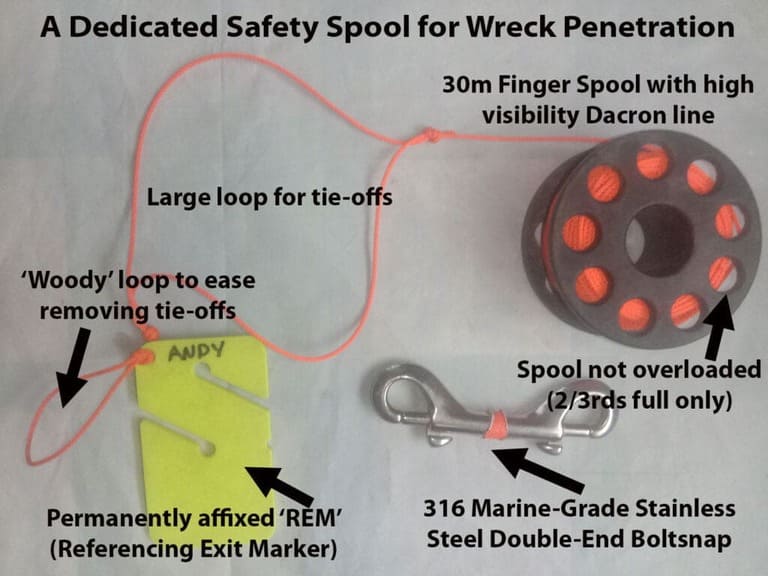
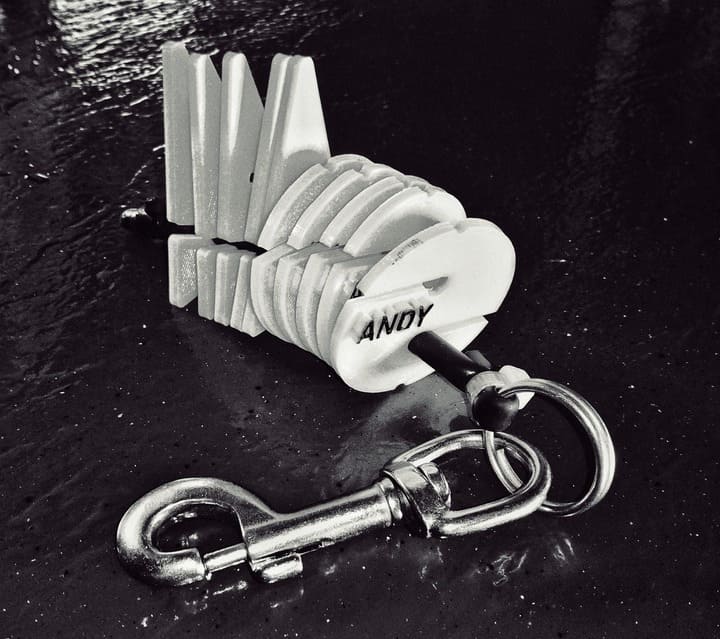
Safety Spool.
This is always a finger spool, of at least 150’ in length that is carried only for emergency/contingency circumstances.
Safety spool configuration for advanced wreck diving.
Exploration Reel.
Primarily used for cave, not wreck, exploration. An exploration reel is a very high-capacity reel that contains over 2000’ of braided nylon line.
Other factors to consider with reel & line selection:
Line Color. White is the most reflective color and therefore a popular/prudent choice for primary/penetration lines. Choosing a different line color for the safety spool is wise to prevent confusion when contingency procedures are used.
Distance Knots. If you desire to monitor distances when penetrating wrecks, tie small knots into your penetration line at equal intervals. This is useful for mapping wrecks and can also be used to implement a linear ‘turn-point’ at a pre-designated maximum penetration distance.
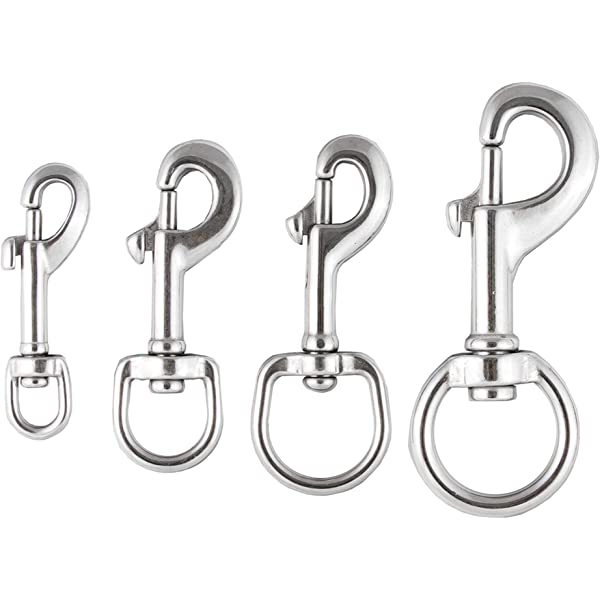
Clips. Do not use any form of swing-gate clip in conjunction with a reel (ideally, don’t use these at all). These clips (i.e. carabineers) do not require any diver input to catch and secure the line. Any accidental contact can lead to the clip entangling line. Only use clips that require direct and deliberate user input/control. Bolt snaps are ideal.
Advanced Wreck Diving – General Team / Buddy Procedures
An ideal team size for wreck penetration is 2-to 3 divers. More than this amount can lead to an increased risk of silting, plus potential confusion that can lead to a lost diver. With 3 divers, the 2nd diver will be responsible as a ‘link’ that ensures contact with the 1st and 2nd divers; confirming that the whole team is present. If there were 4 divers, then it would be impossible for a single ‘link’ diver to confirm that the entire wreck penetration team was present in low visibility.
Team Roles and Responsibilities
As part of the pre-dive preparation, it is important to assign wreck penetration team ‘roles’. These will include:
Reel Diver. This member of the wreck penetration team is always at the front. The diver uses the primary reel to lay the wreck guideline on entry and retrieve the guideline on exit. They have primary responsibility for navigation. The reel diver is first in and last out.
Link Diver. (in a team of 3) This member of the wreck penetration team is always number two in order along the guideline. They maintain team cohesion by ensuring that the reel diver and the 3rd diver are with them at all times. They pass communication between the other two divers. They are always number 2 in the order. They are also responsible for supporting the reel diver during line laying and retrieval. This task includes the maintenance of tension on the wreck guideline and inspecting that tie-offs are reliable. They will also help provide illumination for the reel diver when they are busy with tie-offs.
Deco Captain. This member of the wreck penetration team maintains primary responsibility for adherence to the dive plan. They will be the last diver in order. Their primary role is to maintain overall situational awareness, including monitoring depth, time, team gas supply, and planned time. They should ensure that turn points (gas or linear) are adhered to. Upon exit, they would lead the team through the required ascent and stops.
In wreck penetration teams of two, the second diver covers both link diver and deco captain responsibilities.
Wreck Penetration Team Positioning
Teams of wreck divers can position in different ways, depending on the wreck penetration layout. These are the main options:
Single File. Single-file travel prevents disorder and helps to maintain wreck penetration team cohesion and awareness. It is also preferable in more confined spaces.
Staggered. Staggering the wreck penetration team on either side of the guideline provides more forward awareness for each individual diver. This helps ensure that wreck divers can look ahead, orientate themselves and anticipate their travel. It also helps prevent disorientation during exit.
Advanced Wreck Diving – Communication
Wreck penetration divers should be prepared to maintain contact with the guideline at all times. This means that one-handed communication signals are required, especially one-handed communication of numbers.
Hand Signals
Wreck diving requires certain specific signals. These hand signals need to be performed with only one hand, as the diver should retain a free hand for controlling the reel, operating their light, and/or maintaining contact with guidelines. Specific advanced wreck diving signals will include; ‘Tie-Off’ and ‘Turn-Point’.
Numbers. Use a single hand to communicate numbers, using the following signs:
Wreck-diving hand signals
Light Signals
Light signals are very important during wreck penetration. There should be both active and passive communication.
Active Communication.
These are deliberate signals given with the light. A circular ‘OK’ signal should be exchanged at regular intervals during wreck penetration. This should be given within the diver’s field of vision to prevent the need for constant turning. To indicate a problem and/or gain other wreck divers’ immediate attention a back-and-forth motion should be used with the torch inside the leading divers field of vision.
Passive Communication.
These are the use of lights to maintain constant situational awareness and cohesion of the team within a wreck. It is important for wreck divers to regularly (every 15-20 seconds) sweep their beams across the field of vision of divers forward of them.
Advanced Wreck Diving – Guideline Procedures
Following a Wreck Guideline
Distance from wreck guideline. The wreck diver should never be more than a short arms reach from the guideline. In the event of sudden visibility loss, or another emergency, the diver should be able to instantly reach and hook their arm around the guideline.
Positioning. The wreck diver should be at the same level, or slightly higher than, the guideline. If the diver is below the wreck guideline, then the risk of entanglement increases. Entanglements that occur behind the diver are much more difficult to resolve.
Speed. Penetration into a wreck should be deliberate, methodical, slow, and careful. If inbound penetration into a wreck is maintained at a measured slow pace, then it provides reassurance that the exit can be achieved quicker than the entry. This provides some extra measure of conservatism in respect to gas management and turn-points.
Exit. Wreck divers should remain aware that any margins for error are greater on exit from the wreck. Time and gas restraints are more critical and visibility is often reduced. Any exit from the wreck in low visibility, or another emergency, will be particularly stressful and air consumption will be elevated.
Line Contact. In low/zero visibility, the wreck diver should maintain constant and secure contact with the guideline. In doing so, they should not exert any significant force onto the wreck guideline – which may be pulled against sharp metal inside the wreck and severed. Never pull on the wreck guideline.
Holding the Line. Do not grip the wreck guideline tightly in your hand. Hold the line within a loose circle formed by your thumb and forefinger. To prevent the line from being pulled between those fingers, use the next finger to ‘lock off’ that circle.
An advanced wreck diving team rehearsing drills and protocols for guideline exits in zero visibility,
Entanglement In Your Own Guideline
Getting entangled in the wreck guideline can become a very serious safety hazard. The effort to disentangle can cause line breakage and/or disturb silt throughout the area. Be calm and methodical when dealing with entanglements.
Do not cut the guideline until contingency procedures have been made (see line-cutting drill below). If the entanglement is in a position that you cannot easily reach, signal your buddy and allow them to assist.
Streamlined equipment. The wreck diver should not have any dangling or loose equipment that could become entangled with the line.
Trim. The wreck diver should maintain horizontal trim to prevent unnecessary contact against the guideline, reducing the risk of entanglement.
Be aware of other guidelines
Wreck divers should be aware that other lines may be laid within a wreck. Note the color and type of your line, positioning markers, tie-offs, etc to prevent confusion. Use distinctive and/or personally modified line markers. Being side-tracked onto a different line can lead to team separation and being lost within the wreck.
A line arrow, cookie, and referencing exit marker (REM) used as guideline markers in advanced wreck diving.
Back Referencing
During entry into a wreck, frequently look behind and familiarize yourself with the exit route. This will make the exit travel easier, especially if there is a lost or broken line.
Managing Additional Tasks On A Wreck Penetration
Where the dive team intends to accomplish additional tasks inside the wreck (survey, inspections, artifact recovery, photography, etc) these must only be undertaken on the entry portion of the penetration. Once the turn-point is reached and divers begin to exit the wreck, the total focus must be maintained on a direct and timely exit into open water.
Using a Compass For Wreck Diving
Use a compass to give an overall orientation and direction of travel inside the wreck. This can be extremely useful if the diver loses the line. Be aware that wrecks can interfere with the magnetic alignment of a compass, but basic orientation to north, south, east, and west is possible.
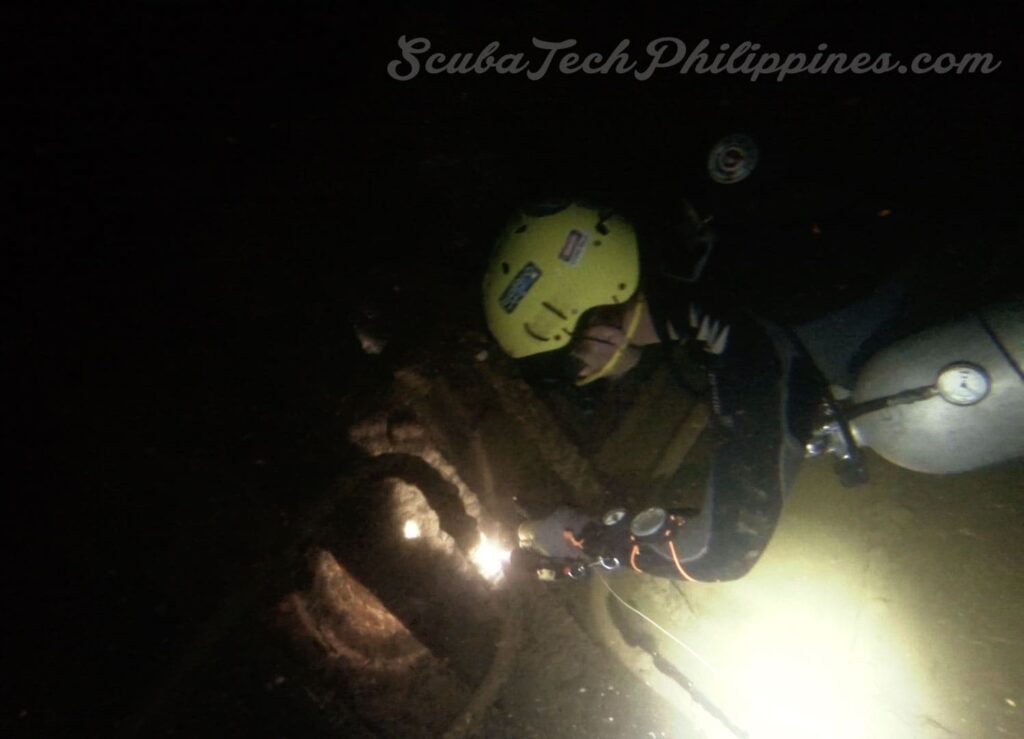
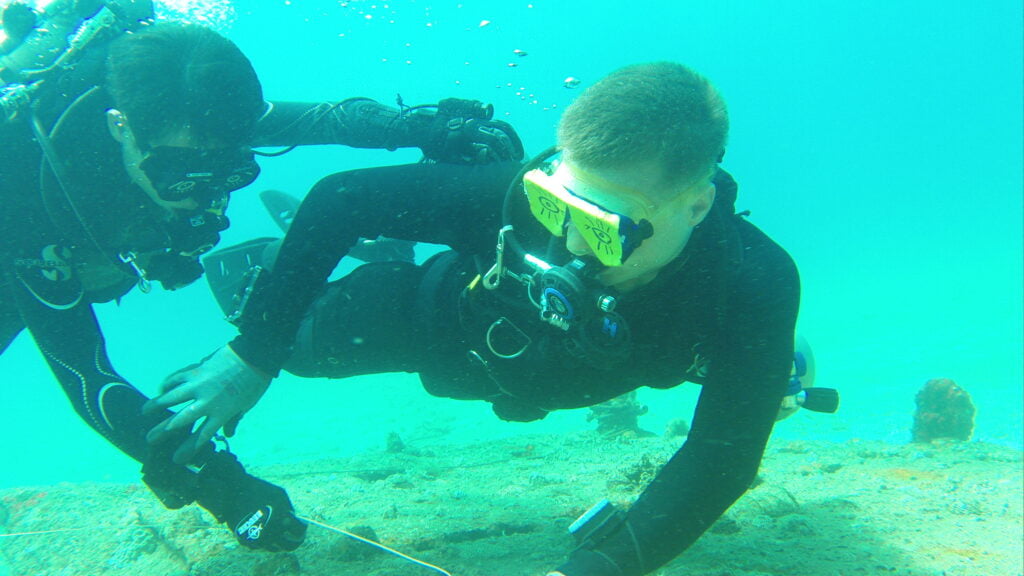
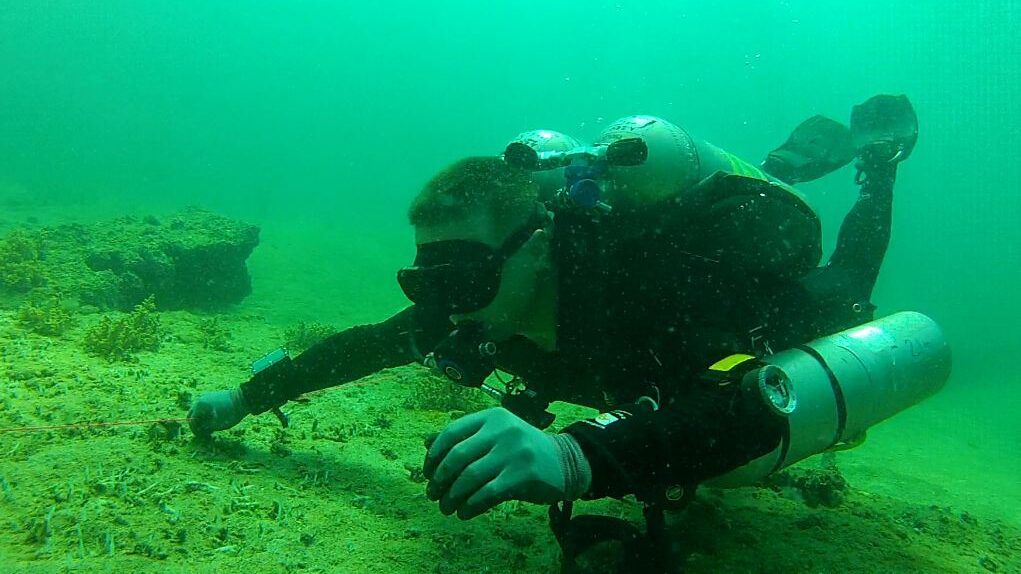
Laying a guideline during advanced wreck training
Laying a Wreck Guideline
Wreck guidelines are essential within any wreck penetration where the loss of visibility or disorientation can occur. In very low, or zero, visibility the guideline represents the divers’ only certain exit from the wreck. Consequently, a guideline should be treated as a ‘life or death’ aspect of the dive.
Line Start. The wreck guideline must be started in open water outside of the wreck. It should have a primary and secondary ‘tie off’ outside of the wreck for security.
Stations. A ‘station’ is any point where the wreck guideline comes into contact with the environment. This is typically where a change in depth or direction occurs. Such contact should be either a placement or a tie-off.
Placement. Placement is a station where the line rests passively against an object. When a placement is necessary, or unavoidable, the wreck diver laying guideline should ensure that the line is not loose and liable to drift into a line trap.
Tie-Off. A tie-off is where the wreck guideline is actively attached to an object. This provides security and helps maintain constant tension along the line.
Wrap Lock. The wrap lock is a method of forming a tie-off along the wreck guideline to an object. It is achieved by wrapping the line 1 or 2 times around the object (front-to-back) and then locking it by looping the reel over the line and pulling it tight. Wrap locks should be created to ensure that a continuous line is maintained.
Frequency of Stations. The wreck diver should attempt to minimize the frequency of stations, where possible. Stations are time-consuming to create and retrieve. However, a station should be created at any change in direction and depth.
Line Location
The line can be located in various positions during wreck penetration. These are the primary options:
Along the Floor. This is easy to follow (reaching down from above) and offers the least risk of entanglement. However, it offers the greatest risk of silt disturbance.
Along the Wall. This can cause the wreck divers to contact/bump the wall, get entangled with fixtures and the line can only be followed with one hand. This necessitates using a different hand to follow the line in each direction.
Line Marking
It is a wise precaution to mark the wreck guideline regularly to indicate the direction of the exit.
Directional arrows, clothes pegs, or other line markers can be placed on the exit side of stations to ensure orientation.
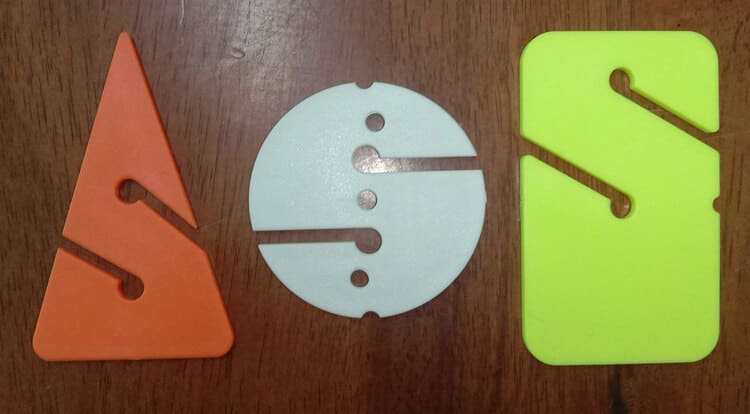
Ensure that line markers are personally modified, to prevent confusion between teams. Ideally, this should be ‘tactile’ – so you can feel the identification in zero viz. This will prove particularly important if the diver lost and then found the line, but became confused about the direction of exit along the line.
If a jump/gap line is used from the primary guideline, then markers should be left on the exit side of the line joint. Never interfere with line markings on your, or other, lines.
Line arrows and cookies in a pigtail for advanced wreck diving
Visibility
When laying a wreck guideline, the diver should always assume a worst-case scenario that they will be exiting the wreck using the guideline in zero visibility. This mindset ensures that the line will be laid effectively to ensure a swift and uncomplicated exit.
Line Traps
Line traps are areas where the wreck guideline can inadvertently enter, which divers cannot pass through. Be aware of potential line traps when laying a guideline. Also, be aware that a loose line can float into areas that will form line traps.
Advanced Wreck Diving – Dealing with Silt
Wreck divers can easily disturb silt within a shipwreck. Inside confined wreck spaces, disturbed silt can be very concentrated in the water which reduces visibility to zero. Heavy silting will prevent even strong torches from penetrating even a few centimeters. Disturbed silt can persist within a confined space inside a wreck for hours or days.
What Causes A Wreck Silt-Out?
Silt can be disturbed in wrecks due to the following causes:
Accidental contact. A wreck diver accidentally makes contact with the floor or other object that is covered in silt.
Water movement. A wreck diver disturbs water which consequently raises silt. This is common if bad fin techniques are used and/or if poor trim (head-up/feet down) causes water thrust from the fins to drive downwards into silt on the wreck floor.
Sculling/Grabbing. Using the hands to maneuver can disturb silt via water movement. Grabbing onto objects within the wreck can also raise silt.
Exhaled Air Bubbles. This is unavoidable unless you dive with a closed-circuit rebreather. Rising air bubbles can displace silt that has accumulated on upper surfaces inside the wreck.
If the wreck diver disturbs silt, which may significantly limit visibility, then the penetration should be immediately aborted and the team should seek a direct exit from the wreck.
Dangers of a Silt-Out
The biggest danger in zero visibility is that one or more divers could lose the guideline and become trapped/lost inside the wreck. If the wreck penetration team becomes separated from each other it will be impossible to know if team members are safely exiting the wreck, or are trapped/lost inside.
If the diving team exits the wreck missing a diver, they will have wasted critical time and also lost the ‘last point’ where the team was united – which makes a potential search far greater in scale.
To operate safely in low or zero visibility, it is critical that divers have instinctive-level skills and are not prone to claustrophobia. As wreck divers may train differently (different procedures, signals, etc) for wreck diving, it is important that wreck contingency plans and drills are discussed and agreed upon before the dive.
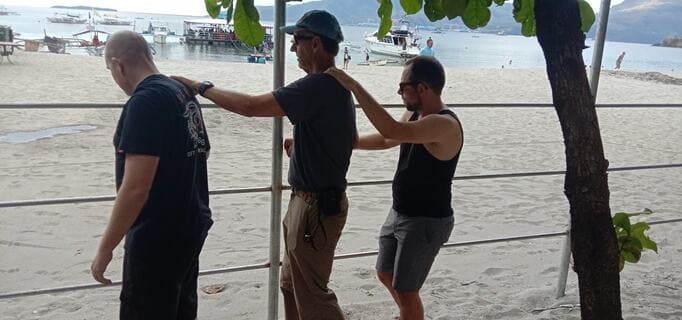
If diving inside wrecks with a high potential for silt disturbance, a prudent team of wreck divers may even physically rehearse their contingency drills on dry land, or in open water, before the wreck penetration dive.
‘SOAL’ Protocol for Silt-Outs
If a ‘silt out’ occurs inside a wreck, then the whole diving team should follow this immediate 4-step ‘SOAL’ protocol:
SECURE – Immediately locate and secure yourself on the guideline. Do not let go until you are out of the wreck.
ORIENTATE – Briefly shade your light (don’t turn it off) and look for light sources that indicate the exit (external light entry) and their buddy (torch). Sweep the light around the wreck, to enable other members to orientate with you.
ASSEMBLE – The leading (Reel) diver immediately stops and secures the guideline with a tie-off. They then remain in position. The rear diver/s moves forward along the line until they make physical/touch contact with the lead diver. Each diver will locate and grip the thigh of the next diver. The team must confirm that all members are present and accounted for. This is easy for 2 wreck divers. If there are 3 divers in a wreck penetration team, then the middle diver must confirm that the leading and trailing divers are surrounding them.
LEAVE – Maintaining constant physical contact with the other wreck divers and the guideline, the wreck team must communicate using visual or (in zero viz) tactile signaling.
Tactile signaling comprises the following:
Stop = 1 squeeze (on the leg)
Go = Push forwards (on the leg)
Reverse = Pull back (on the leg)
Other communication can be achieved by the physical manipulation of the divers hands. Grab the diver’s hands and manipulate them to form the signal you wish to communicate. Virtually any hand signals can be given this way in zero visibility.
Maintain constant physical contact with the diver in front and the guideline until all members of the team are clear of the wreck, in open water.
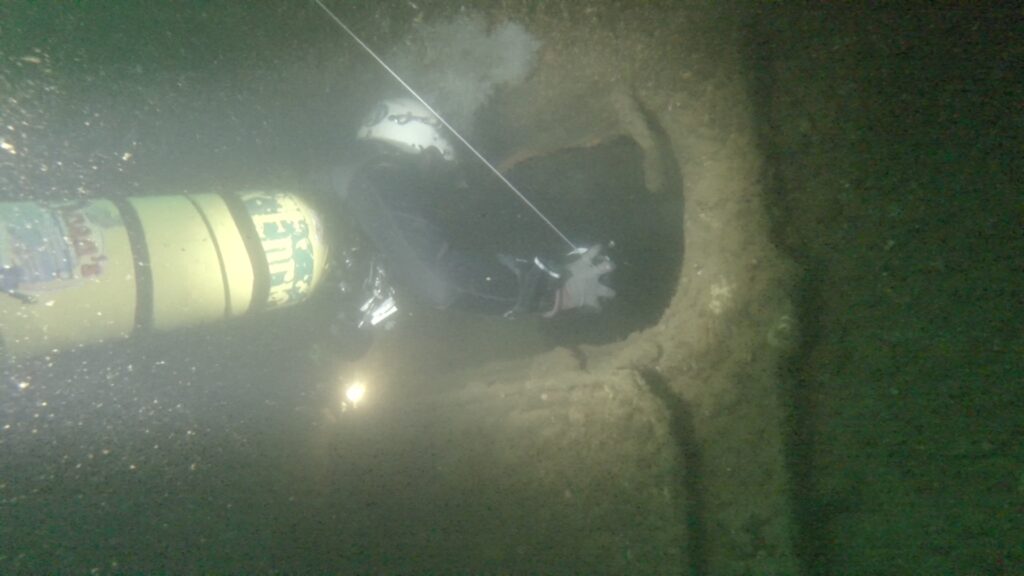
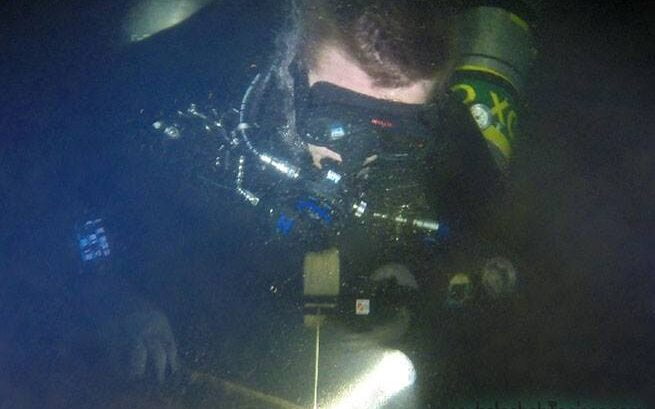
Advanced wreck divers practice no-visibility drills during training
There are a number of drills that a wreck diver can rehearse for emergencies within low/zero visibility environments. Wreck diving emergency scenarios, especially in low/zero visibility, is extremely stressful. This can easily result in hyperventilation, which can cause CO2 retention (impairment), induce underlying nitrogen narcosis (on deep dives), and drastically increase air consumption.
It is vital to stay calm, maintain steady deep breathing and not put yourself at further risk. Do not allow any emergency to distract you from maintaining an awareness of your gas supplies and no-decompression limit.
Always ensure you have sufficient gas to exit the wreck and reach the surface.
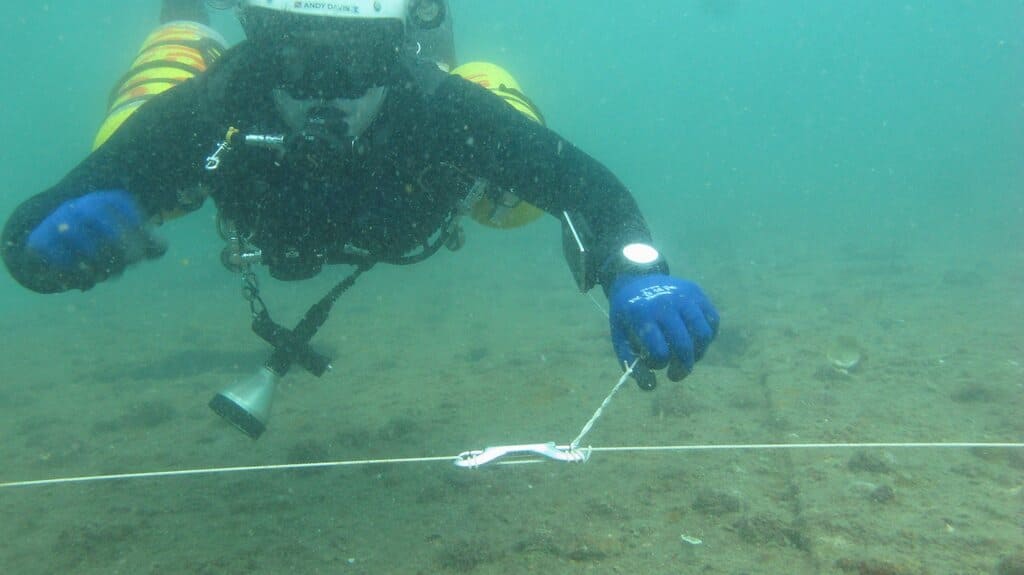
Advanced wreck diver demonstrates a safety spool tie off whilst searching for a lost diver.
1. Lost Diver Drill
This drill is used if a wreck diver is missing from the team. It can be utilized regardless of visibility. Be sure not to make yourself a casualty – remain aware of your air, NDL and situation. Never exceed your rock-bottom gas.
Maintain contact with the guideline.
Cover your light and observe for your buddy’s light.
Check the gas supply, and no-decompression limit and calculate/confirm the maximum safe gas reserve that you have for conducting searches and then exiting/surfacing.
Make a firm plan for how long you will search for, before exiting to raise alarm/get assistance.
Place a line marker, indicating the exit direction, on the guideline. This provides a reference of the point where the diver was lost (aiding subsequent search & rescue attempts) and ensures that the searching diver can relocate the exit after performing a search pattern away from the guideline.
Search up and down the line for a maximum of 2 stations in each direction.
If you wish to search away from the guideline, then securely attach your safety spool to the guideline. Mark the exit direction next to the line joint.
Observe for silt disturbances or percolation from bubbles as you search.
If unsuccessful, tie off your safety spool and return along that line to the guideline.
Leave all lines in place and exit the wreck. Never remove any line until the whole team is confirmed present outside the wreck.
Safety spool tied off onto the primary guideline following a lost line drill
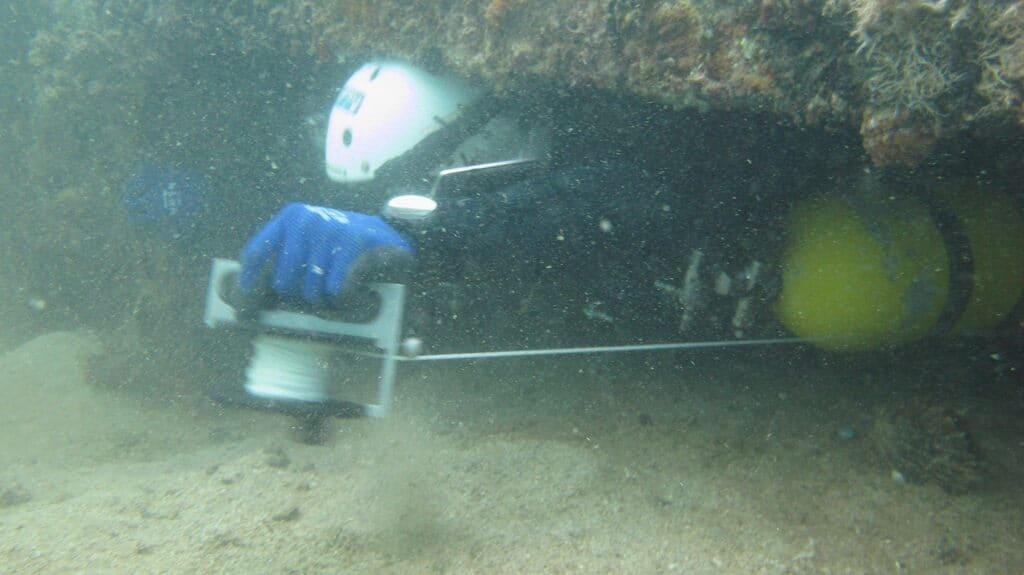
2. Lost Line Drill
The lost guideline search drill is used if a diver/s loses the guideline. Divers should never travel inside a wreck without definite visual or tactile confirmation of the guideline.
Immediately cease movement and observe the line.
Deploy your safety spool and immediate tie-off at that location.
Using the safety spool conduct an appropriate search for the guideline.
The search must be 3 dimensional, shaped to the layout of the compartment.
A student advanced wreck diver searches for the line wearing a blacked-out mask to simulate zero visibility
3. Broken Line Drill
This drill is used if the guideline is severed. If the exit side of the guideline cannot be observed, the situation should be treated as per ‘Lost Line’.
If both ends of the line are present, then simply tie them securely together.
If the line cannot be re-joined, then tie off the loose ends of the guideline onto nearby objects.
Return to the furthest tie-off on the guideline and use the jump/gap spool to bridge the gap between the tie-offs on either side of the break.
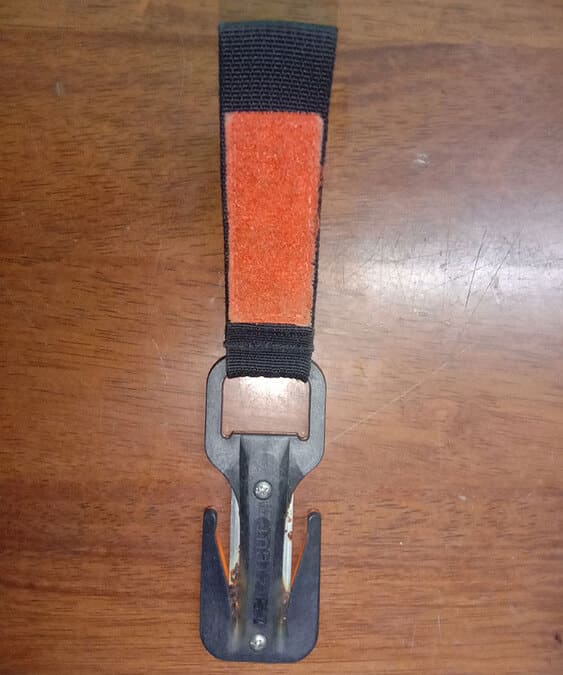
An Eezycut Trilobyte is the best option for efficiently dealing with tasks like cutting guidelines
4. Entangled in Guideline Drill
If a diver becomes entangled in the guideline, use this drill:
Buddy lends assistance to carefully un-entangle the diver out of the line.
If unsuccessful, then the tangled diver will reach to either side and securely hold the guideline with each hand. (This forms a temporary ‘bridge’ in the guideline).
Buddy cuts the guideline on either side of the tangled diver (inside where the line is being held).
Tangled diver maintains control of both sides of the line.
Buddy performs the Broken Line Drill.
Diving in Overhead Environments – Fatal Incident Analysis
Whilst sobering, the following analysis findings illustrate the key human failures that have led to actual diving fatalities. Within every fatality report concerning deaths in overhead environments, one or more of the following errors was present:
Failure to understand that open water training is insufficient for overhead diving environments. Not obtaining proper training.
Failure to maintain a continuous guideline to open water.
Failure to properly manage air supply by violation of the ‘Rule of Thirds’.
Failure to understand personal limitations by exceeding experience and training.
Failure to provide adequate light (primary + 1-2 back-ups).
Currently residing in Subic Bay, Philippines; he has amassed more than 10,000 open-circuit and CCR dives over three decades of challenging diving across the globe.
Andy has published numerous diving magazine articles and designed advanced certification courses for several dive training agencies, He regularly tests and reviews new dive gear for scuba equipment manufacturers. Andy is currently writing a series of advanced diving books and creating a range of tech diving clothing and accessories.
Prior to becoming a professional technical diving educator in 2006, Andy was a commissioned officer in the Royal Air Force and has served in Iraq, Afghanistan, Belize, and Cyprus.
There are three levels of wreck diving; non-penetration, light-zone penetration (recreational), and full penetration (technical).
What equipment is needed for wreck diving?
Wreck divers use a primary reel, safety spool, primary light, 1-2 backup lights, and a redundant gas system (pony, doubles, or sidemount).
How far can I penetrate a wreck when diving?
Basic recreational-level wreck certification allows penetration within the light zone and a 40m (130ft) linear distance from the surface. Advanced and technical wreck certifications may allow full penetration.
What is the light zone in wreck diving?
The light zone is any area of the wreck directly illuminated by external ambient light.
The dangers of wreck diving are silt out, entanglement, disorientation, structural collapse, and no direct access to the surface if an emergency occurs.
Showa L2D Tabby Aircraft Wreck | Subic Bay The L2D Tabby aircraft wreck in Subic Bay. Dive site details, map, history and photos of the wonderful Tabby wreck in Subic Bay Philippines.
Grading Wreck Diving Restrictions Defining grades of wreck diving restrictions. How to assess the severity of restrictions when planning your dives in backmount and sidemount
How To Choose The Best Wreck Diving Course? Detailed guidance for choosing the best wreck diving course. Wreck diving can be dangerous; so it is important to choose expert instruction